Before using Deselect, go to the Setup options found on the side menu. Click the drop-down to open the Deselect option. See below for more details on the settings for the fields available. Make changes as needed. MISSING User - The user to whom items marked missing will be checked out (usually MISSING). This is a required field.
DISCARD User - The user to whom items marked for discard will be checked out (usually DISCARD). If this field is left blank, MobileStaff will not check out discarded items to a user but will change the item's status to DISCARD (this is the default that is set up in the system).
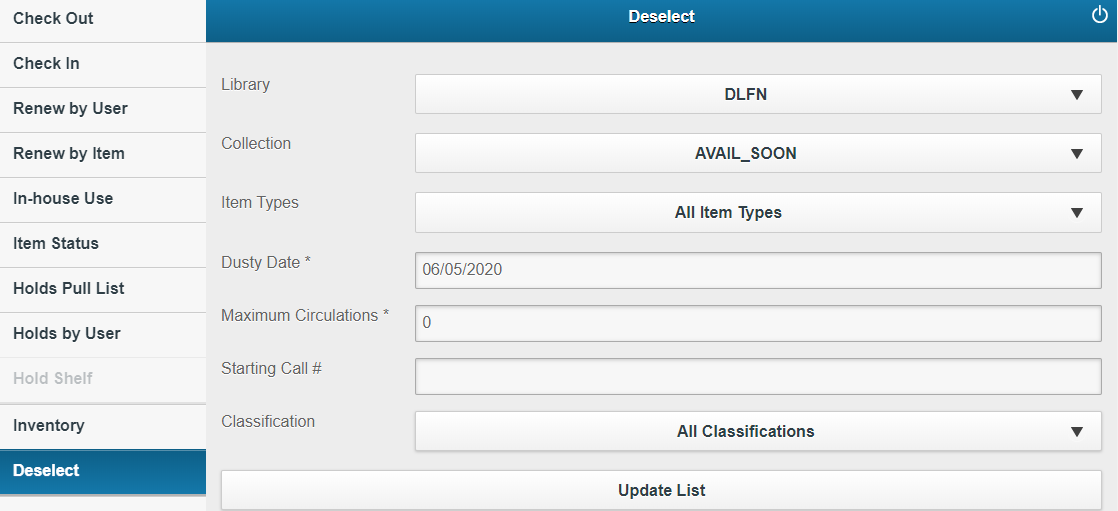
Deselect is another word for weeding. This function allows you to create and view a list of unused materials for deletion from the catalog. The Deselect function will set items to DISCARD and you may also mark items as MISSING.
NOTE: Items set to DISCARD are not permanently removed until you or your INFOhio Provider generate the appropriate Discard/Delete reports.
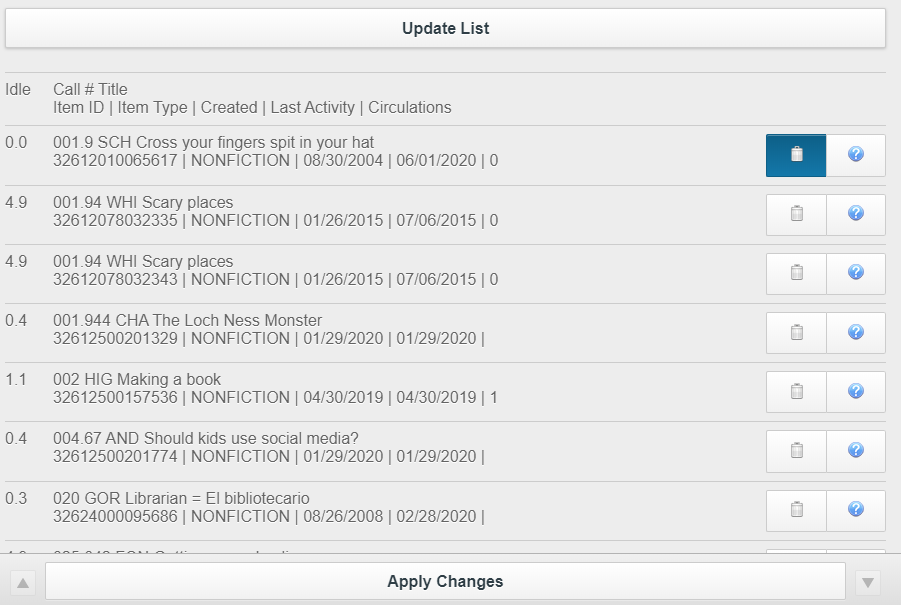
From this list, you can click or tap on the title of the item to see what items are around it on the shelf, click or tap the trash can icon to mark the item as DISCARD or click or tap the ? to mark an item as MISSING. As you mark the items for deselection, a box will appear at the bottom of the list allowing you to Apply Changes. 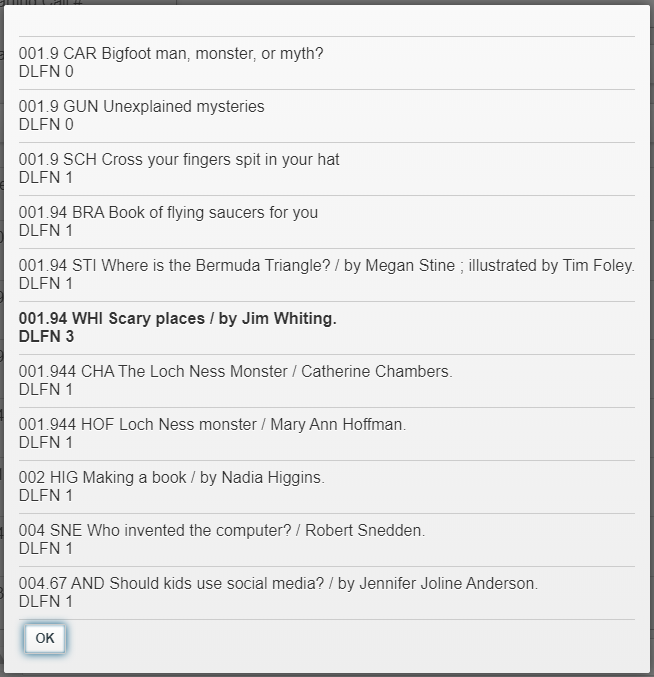
The list includes an idle column that shows the number of years elapsed since the item was last checked out or, if the item has never been checked out, the number of years since creation. 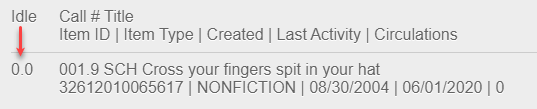
Note: When determining which items to include in the list based on maximum circulations, libraries return items that have fewer than or the same number of circulations you specified. This means that if you specify the maximum circulations as 1, then items on the list will have been circulated either once or never.
Please note: Items are not removed until you contact your INFOhio Provider and request that your DISCARDS be removed.

Fetch is avaiable to INFOhio automated schools. If you are an INFOhio school, please log in with your school username/password using the button at the top-left corner of this page.
For more information about Fetch, please visit the Fetch information page or contact INFOhio support at https://support.infohio.org.
