BLUEcloud Course Lists is a resource list management tool enabling librarians and teachers to work together to build lists of library and online resources relevant to what students are studying. Each building in your school district will have a class catalog. The class catalog will display individual classes for that building and each class will have its own list containing links and resources that the library and teaching staff would like to highlight for students.
If you do not have a class catalog already created for your school building, click the Create Class Catalog button located in the top right corner of the Class Catalogs page. You can find the Class Catalogs page by going to Admin > Products > Lists > Class Catalogs. Once the library-specific class catalog is created, you will not need to create another in the future, unless there is a specific reason.
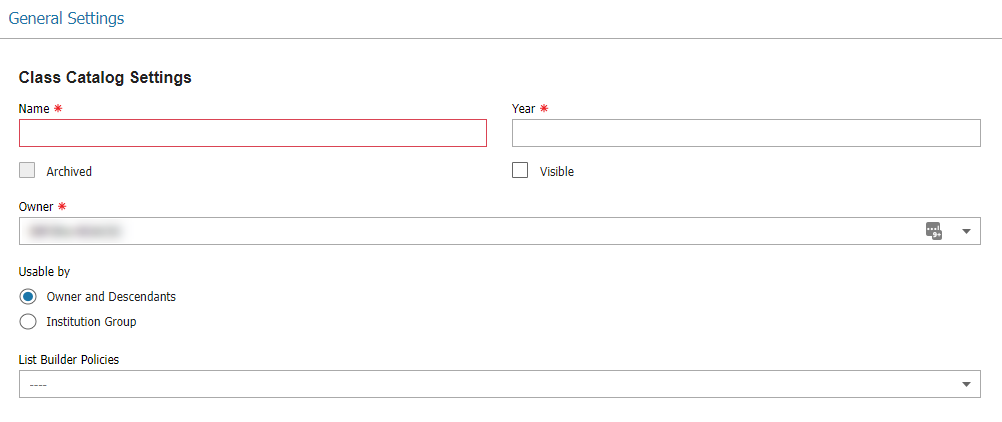
Enter the following information:
Name, Year, and Owner are required before you can save. Once the Class Catalog is saved, you can begin creating classes.
To add a class to a Class Catalog, go to Admin > Products > Lists > Class Catalogs.

Each library-specific building in the district should be represented by a class catalog. For example, a class catalog should be available for the high school, middle school, and elementary school. There does not need to be two (or more) class catalogs for a building. One class catalog per building will house all of the individual classes for that building. For example, the class catalog for the High School will include the lists for American History 101, Government for Juniors, Government for Seniors, etc.
Best Practice Tip: Create one class catalog per district or building, depending on your permissions. Multiple classes can be added to the district or building class catalog.
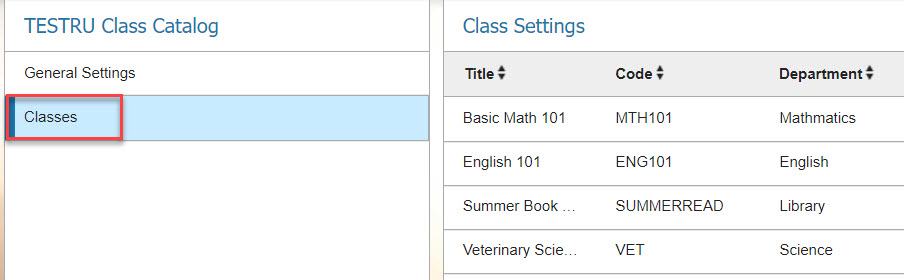
To create a class, click on a Class Catalog and make sure you are in the Class Settings page. You can access this page by clicking Classes on the right-hand side of the page where General Setting and Classes are displayed in the menu.
Click Create Class to add an individual class. Click Import Classes to import a list of classes. See below for more information on how to import a list of classes.
![]()
To create a class, enter the following information:
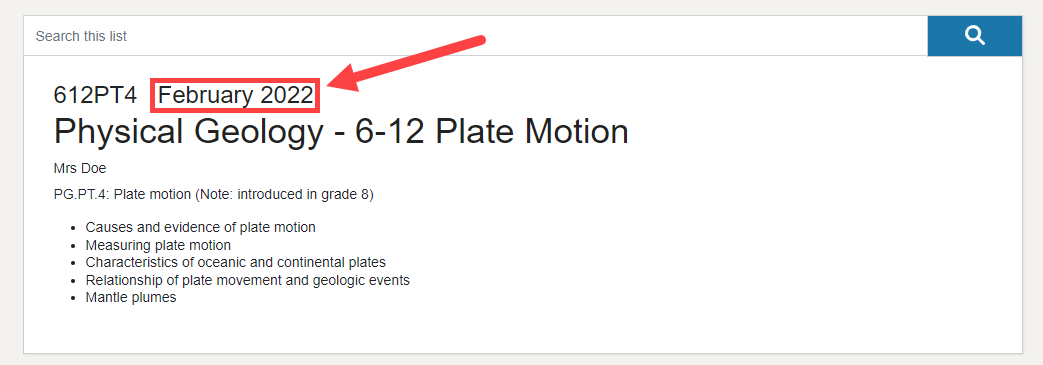
Note: If a teacher would like to add resources and maintain a list, they will need to be added to the Instructor field and given a Course Lists account. Please contact your ITC's Library Support Staff if you have a teacher who is interested in doing this. This account only allows access to BLUEcloud Course Lists. If library staff only will be creating and maintaining a class list, then the instructor does not need a BLUEcloud account. The teacher's name can still be included in the Instructor field and it will show up in the Student View of the list.
If you are planning to link to your LMS, Title and Code must match what is in the LMS.
When you have finished adding information, click Create. The class is ready for library staff or teaching staff to begin adding resources.
If you decide that you would like to remove a class, hover over the class selection and click the X located on the far right.  Please note that if a class is deleted all class information, including any resources that were added are permanently removed. If the class or the class resources may be used again, it may be sufficient to remove any links to the class so it is unavailable for students and staff. By removing the link instead of deleting the class, the information is still available to edit but the path to access has been removed.
If you are interested in doing an import of classes because multiple classes will be using Course Lists, download the following file and gather class details. The resulting list will need to be a comma-separated values (CSV) file. The file can be exported from a student information system or created in Excel. Access BCCLImportClassesTemplate.xlsx for a template. When saving, choose Save As and save as a CSV file.
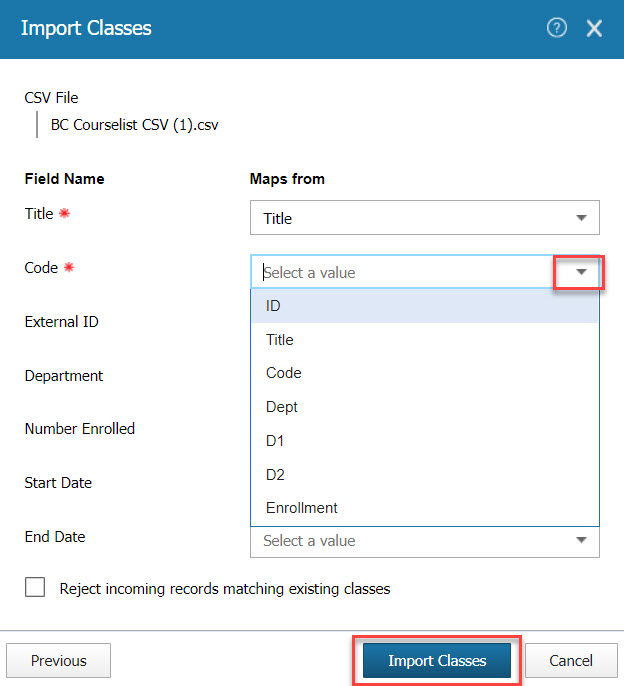
When ready, click the Import Classes button and choose Browse to locate the saved file. Import the file and map the fields. Click Import Classes to import the classes from your file.
If there are any errors, double-check your file is in the correct form. If you still have problems, please contact your ITC's Library Support Staff. Once the classes have been imported, you can contact those who will be using Course Lists with their login information and directions on how to use it.
Library Staff have the ability to view all of the classes available in their district by going to Staff > Lists > Classes. From there you can view the resources being added to the class list and help maintain them. Library Staff also have the ability to be a reviewer for content being added and change the status of that content once the materials have been verified as safe, relevant, and useful for the purpose of the class.
The Classes page includes,

Library Staff can filter and sort classes in the list using the search bar or by clicking the sorting icon next to the column heading.
Once a class has been created and resources have been added, the list can be submitted for review. If library or teaching staff are creating lists and adding resources to a list, they can request that the district or school librarian review and approve the course list resources before it is shared with students and teachers. Incorporating this review into the workflow of creating a course list will help to ensure that resources are appropriate for the grade or level of the student it is being shared with.
In the list builder (Staff > Lists > Classes > Select the Class) the review stages can be found by selecting the Review Actions drop-down.
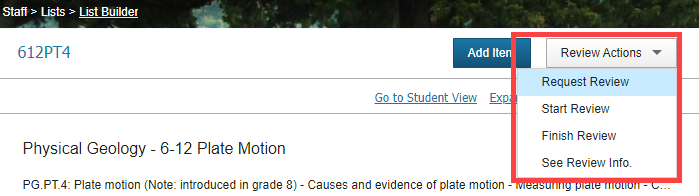
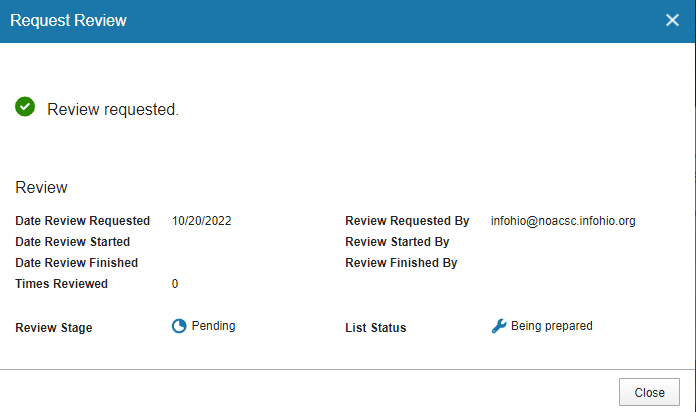
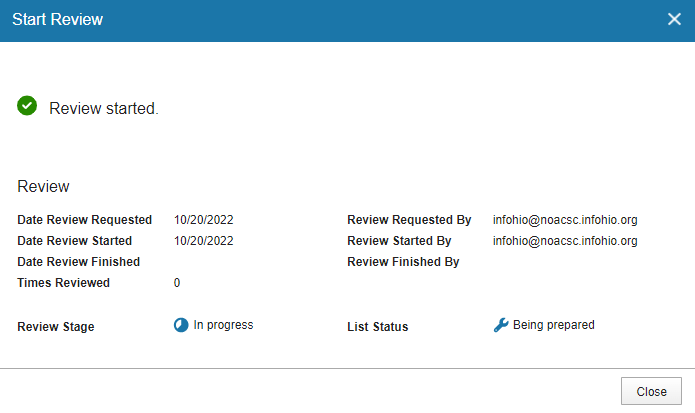
The review stages are Request Review, Start Review, and Finish Review. There is also an option to “See Review Info” to note the date, reviewer, and the number of times the class has been reviewed. Notice the Review Stage status and icon, as well as the List Status and icon. These are reflected on the Classes page as mentioned above.
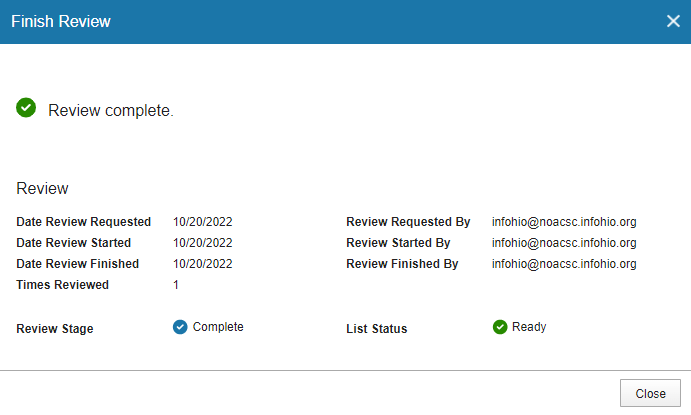
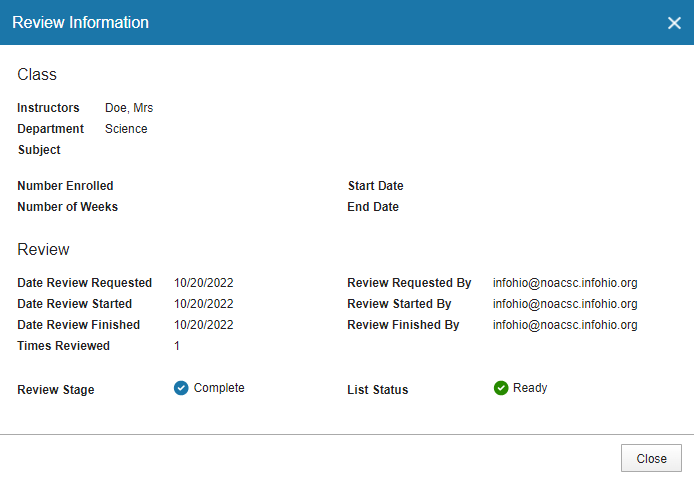
The review status for a class is available on the Classes page and all those involved in the creation of a list can follow the review progress as it is completed. The column labeled Review Stage will reflect a "Complete" status when finished.

If the review process is used, the librarian should share how they will be reviewing the resources in the list, a time frame for completion, and what the creator should do if a resource is unavailable. INFOhio's Instructional Materials Rubric is a great resource to have on hand as Course Lists resources are being evaluated. To learn more about why high-quality instructional materials matter and learn more about the rubric, see the High-Quality Instructional Materials to Supplement Your Curriculum class found in INFOhio Campus.

Fetch is avaiable to INFOhio automated schools. If you are an INFOhio school, please log in with your school username/password using the button at the top-left corner of this page.
For more information about Fetch, please visit the Fetch information page or contact INFOhio support at https://support.infohio.org.
