To add a new record using a template, navigate to the Cataloging homepage.
Click "+ New Record" in the lower right corner of the Cataloging homepage.
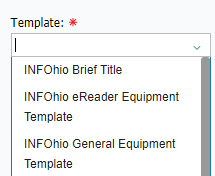
Choose from the available templates from the drop-down.
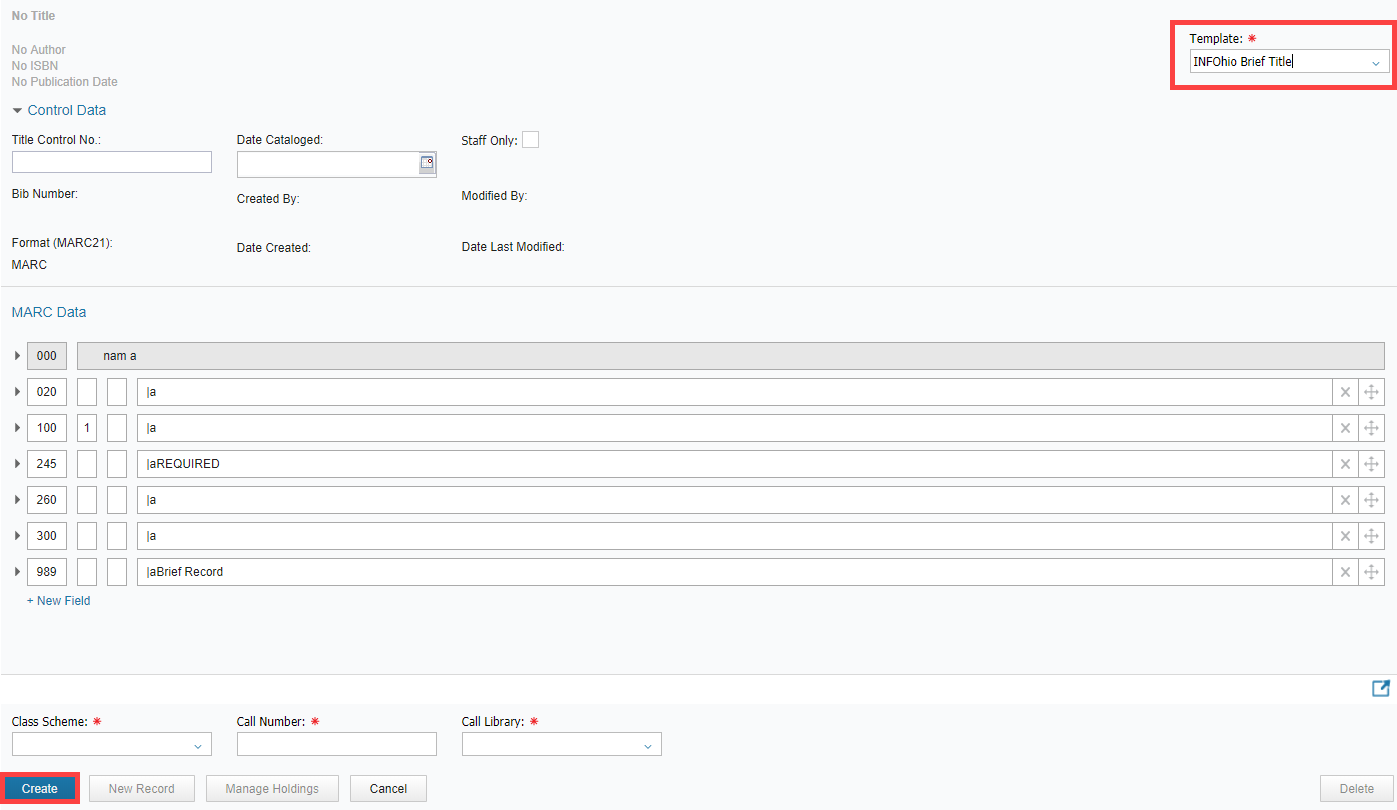
Fill in information as needed. Fields with an asterisk (*) are required. Depending on your screen size, you may need to collapse the Control Data details by clicking the corresponding delta or down arrow. This will create more space on the page for the MARC Data.
Title Control No.: This will generate upon saving.
Date Cataloged: Use the calendar to enter the date the item was cataloged.
Staff Only: Select to allow only library staff to view the record. The record will be shadowed (or hidden) from patrons in the online catalog.
Class Scheme: Select ATDEWEYLOC.
Call Number: Enter AUTO. The system will assign an XX call number that you can change in "Manage Holdings".
Call Library: Select the owning library for this item.
As you are making changes to the bibliographic record, click Save often. Saving often throughout the cataloging of the template will ensure your work is not erased if you get called away to other duties.
Once you have entered all the needed MARC data, you can choose to add another new record from the available templates or you can choose to add items to the record with Manage Holdings.
If you would like to create another record from the available templates, click New Record.
Select a Template from the drop-down list.
The screen will update with the new information.
Fill out the required (*) fields and click Create.
Begin to edit the MARC data as needed, saving often.
After adding MARC data, you can add another New Record, add items with Manage Holdings, or Cancel.
If you would like to add items to the record, click "Manage Holdings".
Select New Item to add an item.
Fill in item information as needed.
Item Barcode: Scan or enter a dumb barcode.
Item Type: Item Group
Home Location: Available
Current Location: Available
Item Category 1 = Material Type
Item Category 2 = Funding Source
Item Category 3 = Curricular Area
Item Category 4 = Grade Level
Item Category 5 = Genre
Click Circulate.
Click Permanent.
Enter a Price.
Click Save.
Change the XX call number to a call number that represents its location in your library.
Click Save.
If using dumb barcodes, you may want to print smart barcodes and spine labels. Please see the Printing Barcodes and Spine Labels lesson in the Introduction to Cataloging class for more details.
When working with MARC Data in BLUEcloud Cataloging, here are a few tips that may come in handy:
Hover over a tag or its subfield to see a description of that field.
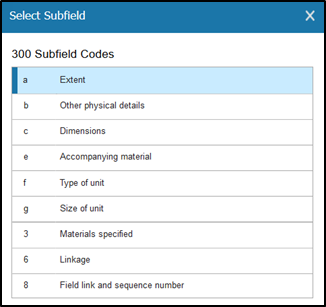
Expand a tag by clicking it. You can create a new subfield by clicking "New Subfield". You can also add a new tag by clicking "New Field". A box will appear, and you can just click the corresponding code to fit what you need.
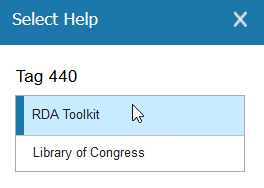
Click this icon for more information on the specific tag you have clicked: The RDA Toolkit and Library of Congress are options to help you find out more information about that field.
Use these buttons to delete a field or reorganize where a field is located in the bibliographic record:
Before moving on to the next lesson, take a few minutes and practice cataloging with a template.
On the main cataloging page or from the search results page, click +New Record.
Select an available template from the Template drop-down menu. A good one to try first is Brief Record.
Enter information in the available fields as needed. Provide enough information that a user would be able to find it using an item or title search in the online catalog.
Use the Tag Helper for help formatting a specific tag.
Remember to assign AUTO as the initial call number until an item can be added.
Click Create.
Add an item to the newly created record by clicking Manage Holdings.
Enter call number and item information as needed.
Save your information.
You have now created a record using a template. If you have any questions, reach out to your INFOhio Provider for further help.
Once you have finished this lesson, click the Next button to move to the next lesson where you'll practice your new skills. If you have any questions, please contact your INFOhio Provider for help.